Christin here to day to give you a little step by step tutorial of how I make my layouts.Here using the August Main kit and Embellishment kit and some pieces of 6x6 papers from the PLKit. (paper doily from my own stash)
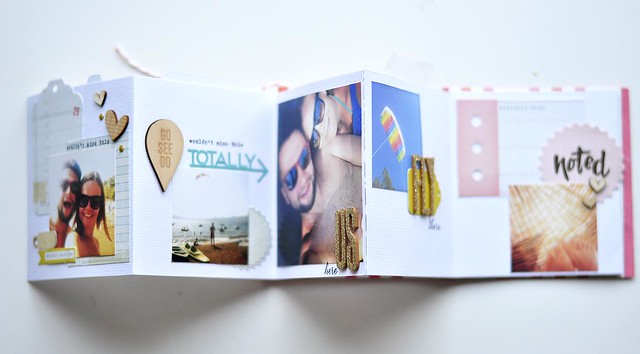
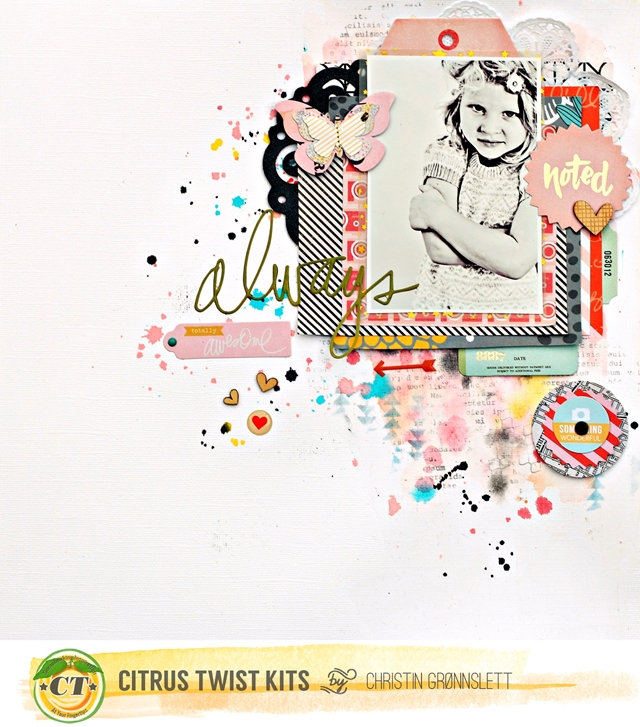
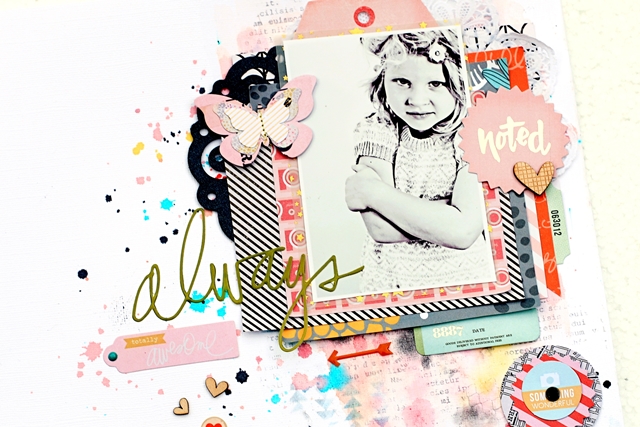
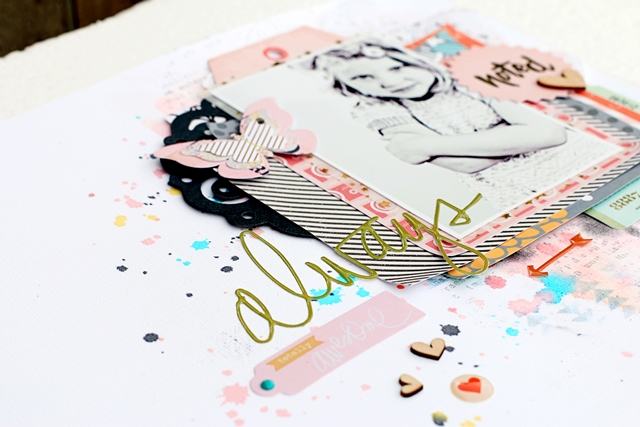
First the finished layout.
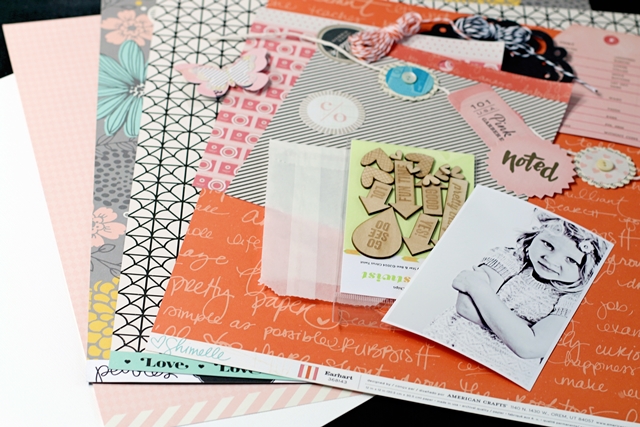
I always start with a white cardstock. When I get my kits I often make small minikits for each layout picking out the papers and the embellishments I want to use for each layout. I don't always end up using all the pieces, but I try to boost the creativity by giving me some extra time to plan. I don't like mixing colors too much, but I want some contrast in my layouts. I made mini kits for all my four layouts this month the same way.
Next step: backgrounds. Since it takes a while for my backgrounds to dry I like to make them in bulks. I pick out the mists and mediums I want for each layout and make them at the same time.
These are the mists I chose for this layout.
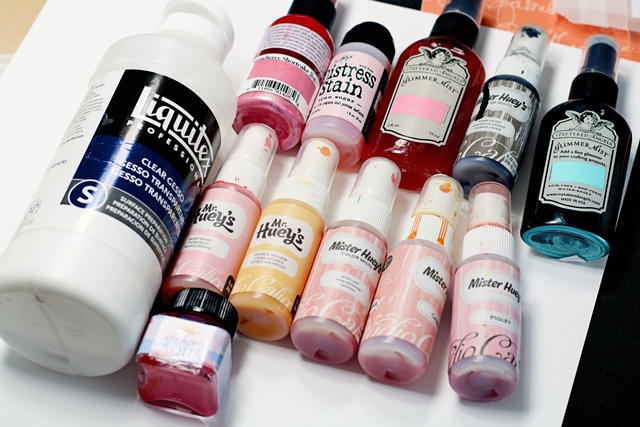
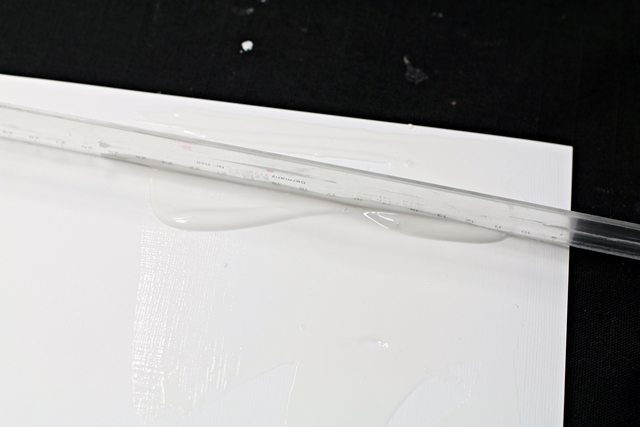
I always use clear gesso and not white gesso when I make my backgrounds and for several reasons. I use ordinary white Bazzill as I like the structure and color of it and white gesso looks yellow on the white cardstock, the white gesso is also very smooth and it feels like the mists will run off, the clear gesso is mucher rougher when you touch it and I feel works better with the mists. To spread out the clear gesso I use a long ruler to get it even and no lumps.
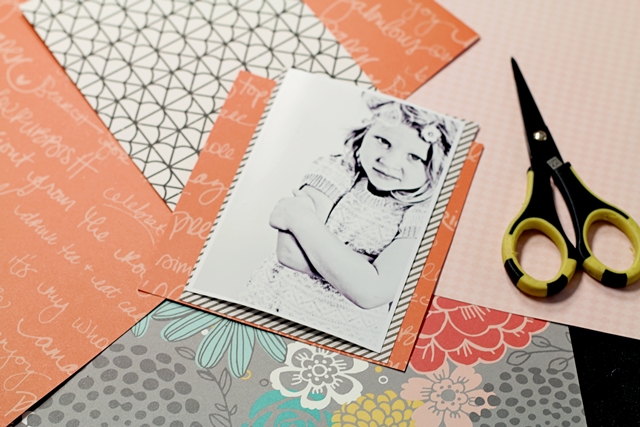
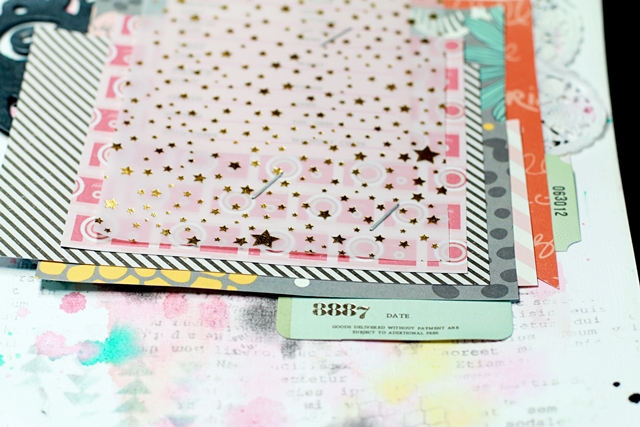
I wrote earlier that I often make backgrounds in bulk, the same goes with layering. I don't use my heat gun to hurry up the drying time. In stead I start cutting the layouts roughly how I want it. Notice how I don't use anything else beside my scissors. It just feels better and I can see better when I cut. My thoughts about layering is that nothing has to be precise, quite opposite, it feels stiff when it gets too linear. I cut some pieces bigger and some smaller. And as long as you add mulitple layers it doesn't really matter how you layer them, it can't go wrong...
After I cut everything I test layer it on a piece of white cardstock, to see if I need more layers or not. Notice that the finished layout didn't look exactly like this....
Now my clear gesso has dried up and it's time to start playing with the mists. I like to get a watercolor feeling, without working with the real thing. I add a little water to my cardstock and start dropping mists, Ecoline or similar mediums,. Then I use a waterbrush or brush with water to spread out the color.
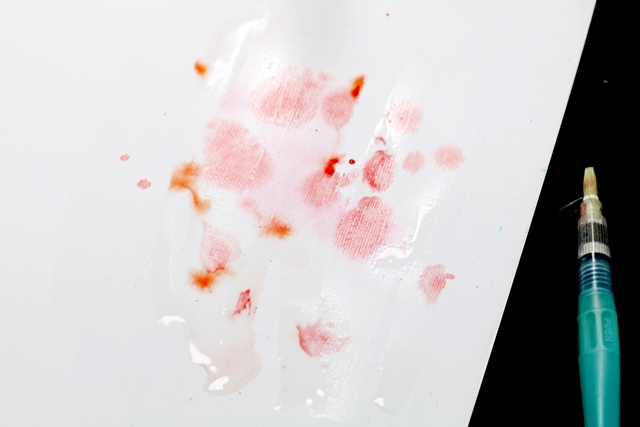
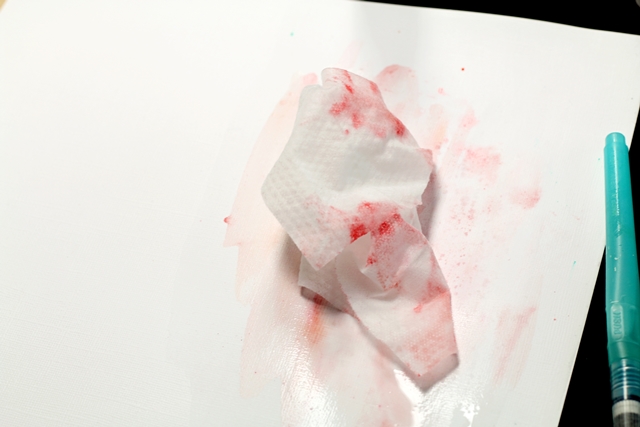
To avoid bulky cardstock and too heavy color I use babywipes and/or paper towels to remove water.
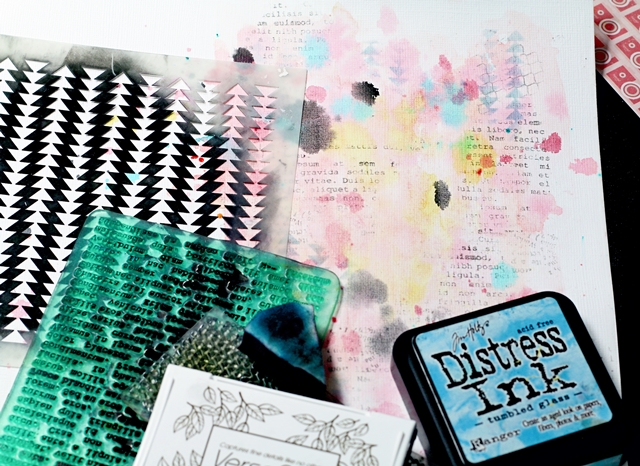
After all the colors have dried I add more dimension to the page by adding layers of stenciling and layers with stamps. All to ease the transition between the layers of paper and cardstock.
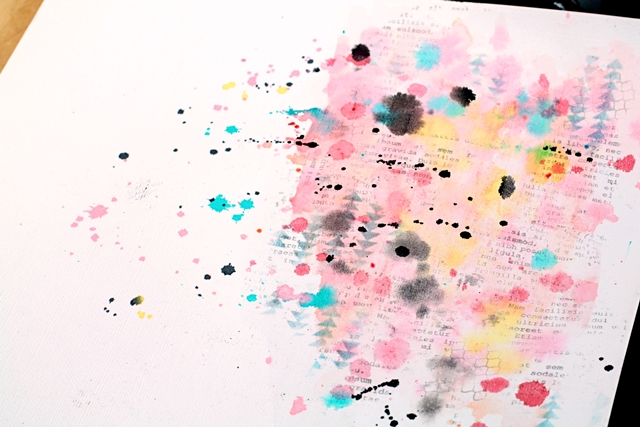
Here is the finished background. I end up cover most of it, but it doesn't matter, you can see some of it. I work with layers on the coloring. When I drop the mist in water it acts like when water is freezing and spreads out in similar pattern. You have to let it completely dry before you add drops of mists that you DON'T want spreading out and only look like small drops...
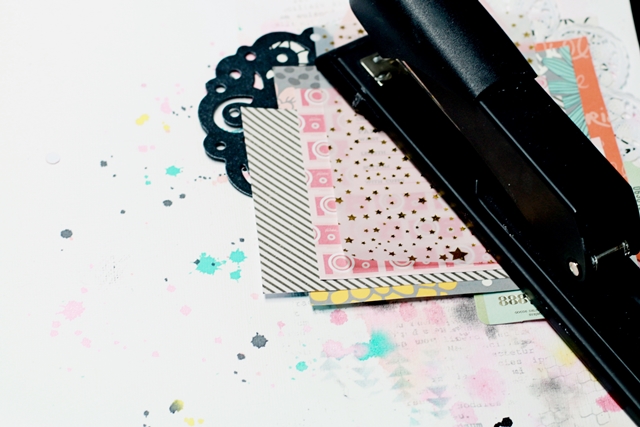
After finishing the background it's time to go back to my layers of paper. When I am happy with the layers I either staple the papers together or to the white cardstock, allowing me to stick pieces of papers and stickers between the layers with ease.
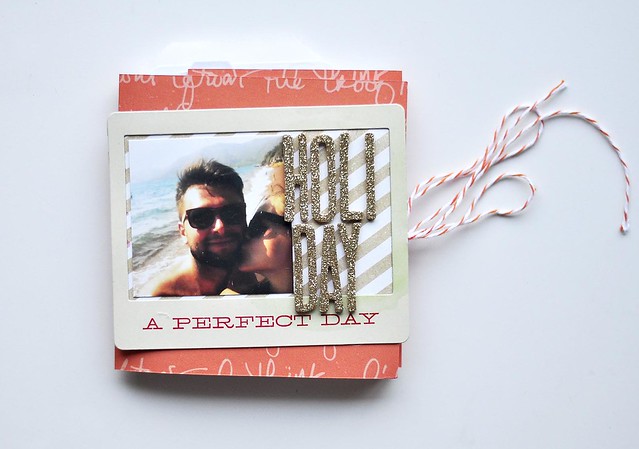
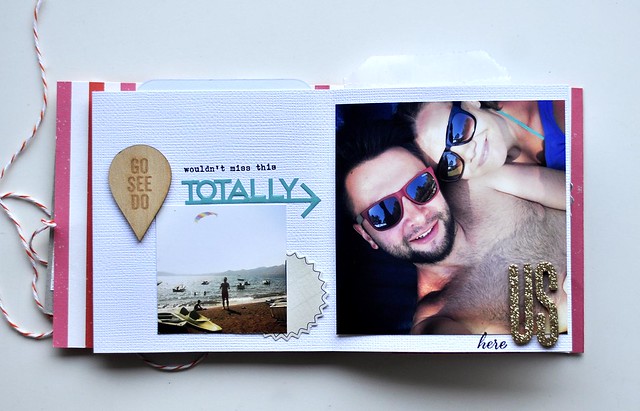
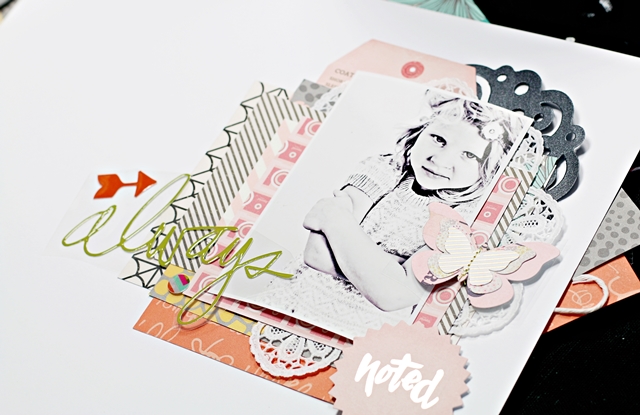
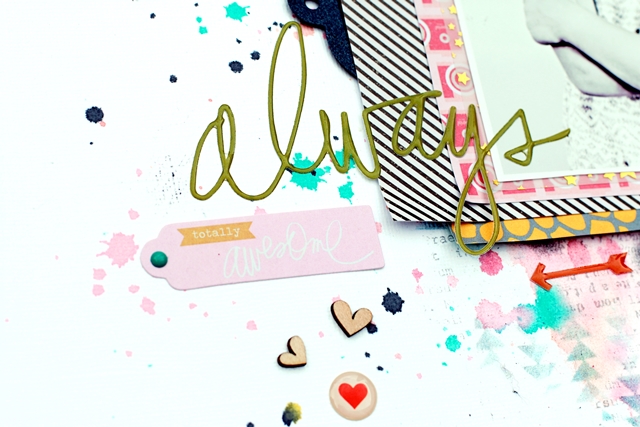
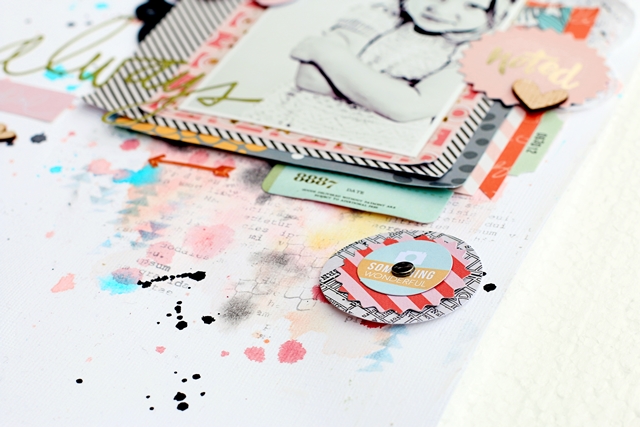
Here is the finished layout again
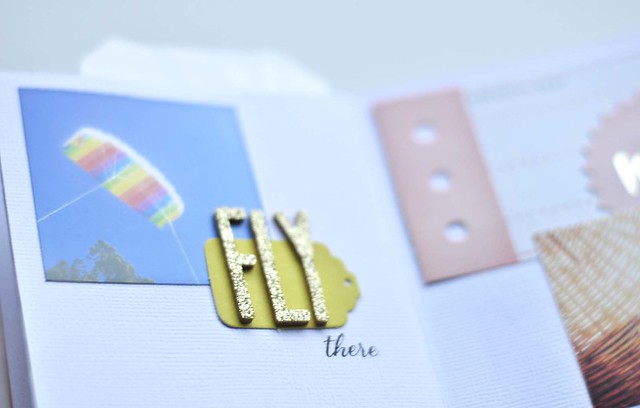
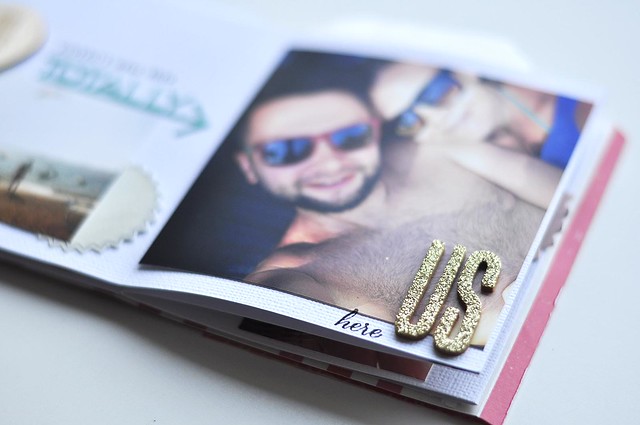
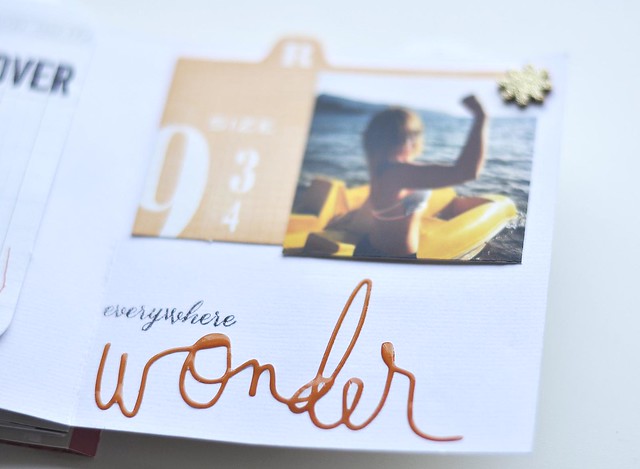
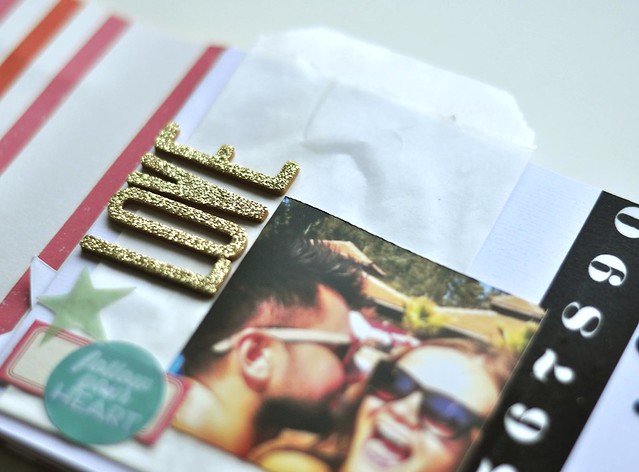
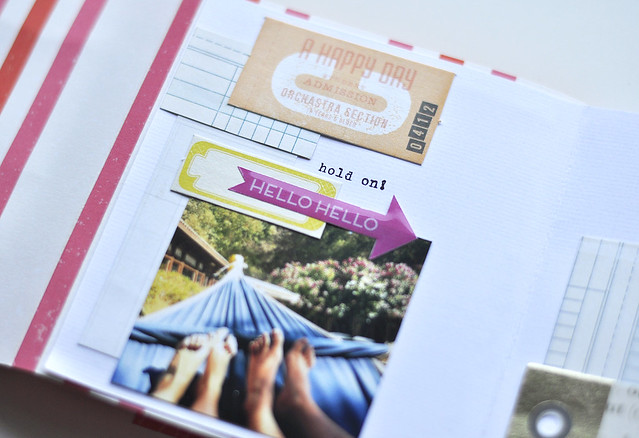
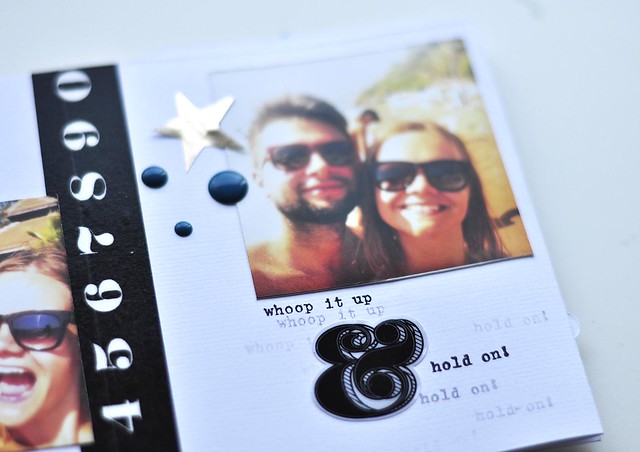
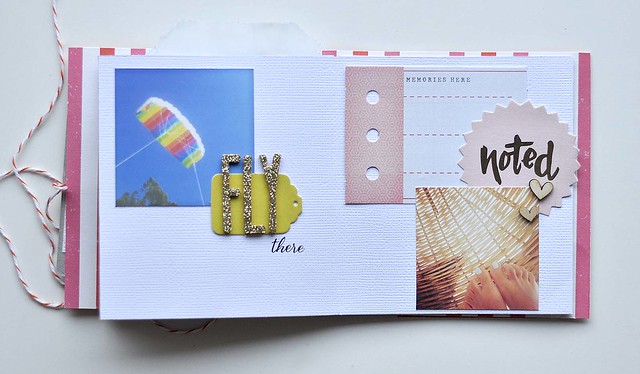
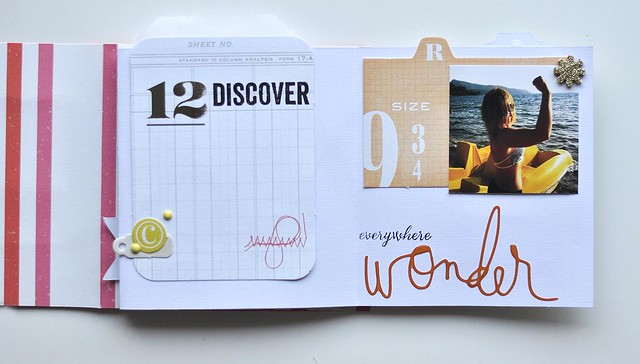
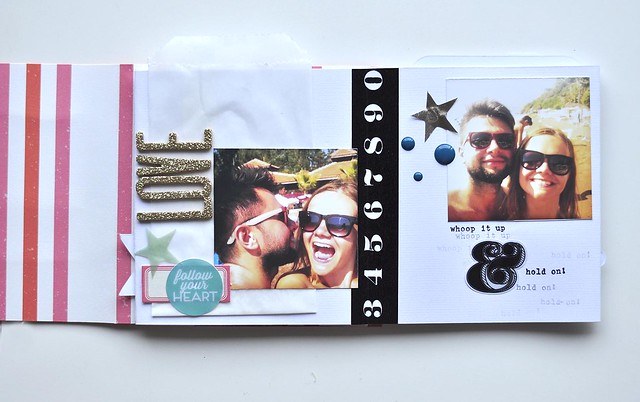
And some closeups.
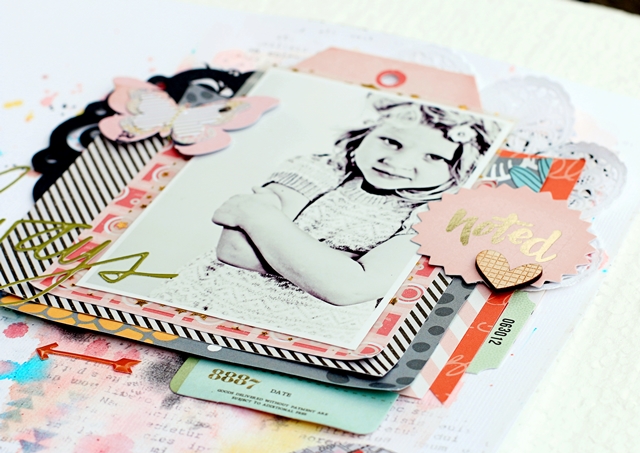


.jpg)